Visual Arts Integration Lessons
Choose a subject to find a lesson that integrates visual arts.
Visual Arts & Math
Beautiful Oops
For example, in this lesson the teacher would:
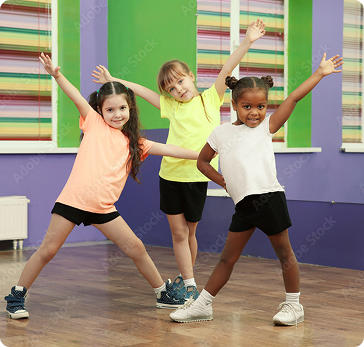
- Lead a movement activity where students use their arms and bodies to form and connect lines into shapes
- Demonstrate drawing basic geometric shapes with oil pastels while naming and identifying them together
- Explain geometric shapes and how they use straight or carefully measured lines
- Introduce organic shapes as irregular and free-form, showing visual examples
- Have students practice by drawing both geometric and organic shapes on scratch paper
Hundreds of free lessons to get started today!
Top Lesson Plans



Why Visual Arts?
"Logic will get you from A to B. Imagination will take you everywhere ."
—Albert Einstein
- Ignite imagination and creative engagement for every participant
- Strengthen executive functioning and decision-making skills
- Cultivate cultural awareness and empathy for diverse perspectives
- Sharpen visual literacy through interpreting, critiquing, and creating visual information
- Encourage flexible, adaptive thinking
- Build creativity and problem-solving abilities
- Develop fine motor skills essential for writing
- Boost confidence while building essential 21st-century skills
Basic Drawing Skills
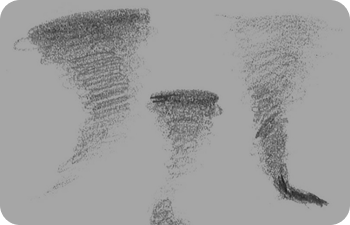
Shade a triangular form from dark to light. Encourage students to practice applying pressure while drawing, using light and strong pressure to create different values and contrast. Invite students to identify the light and dark sections. This idea can be practiced with left-right progression for visual tracking.
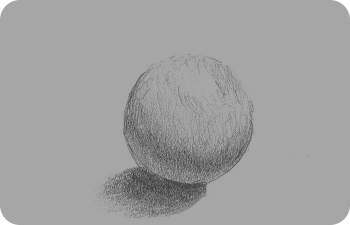
Sketch a circle. Shade the inside of the circle using the previously practiced tornado technique. Use the appropriate pencil pressure to create light and dark shadows. Decide on the direction of the light source, noticing where the light reflects and shadows on the ground. Notice the symmetry of the sphere, and observe how shading creates a three-dimensional effect.
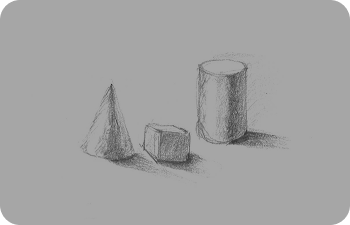
Practice drawing three-dimensional objects like cones, cylinders, and cubes. Apply shading to objects such as bowls, cups, or bottles, observing how light interacts with them. Notice the reflected light, cast shadows, and core shadows on your drawing. Reflected light bounces off the object, cast shadows appear where the object blocks light, and core shadows are the darkest areas where light and shadow meet.
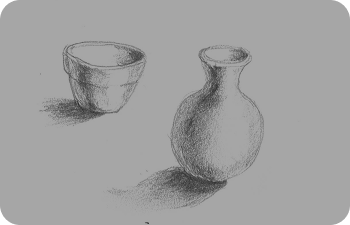
When staging something to draw, consider using an odd number of objects. Break down the image into thirds, both horizontally and vertically. This creates a grid of nine, wherein objects can be placed properly along one or more of those lines, or at one or more intersection points. This informs proper placement of objects within the space and is called the rule of thirds. Consider perspective and the location of a focal point to facilitate a cohesive composition.
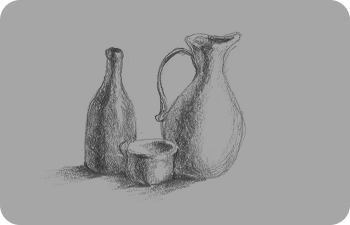
After placing objects, consider the size of the objects to be drawn and choose a place on the paper to draw. Observe proportions between objects. The closer the object is to the artist, the lower it belongs on the page. Shade the darker side of each object first. Finish each object completely before moving onto the next. Add each line, one at a time. Use positive, encouraging statements: "Make a curvy line like a smile," or "Use light pencil strokes so it’s easier to erase other lines later."
Visual Arts in the Elementary Classroom
Dive deeper into visual arts and how to effectively integrate it in your classroom.